
|
A tool that converts Office documents to PDF and Images file on the Server side |
View: Excel's Page Break Preview allows you to see how your sheet will look when printed and make adjustments accordingly.
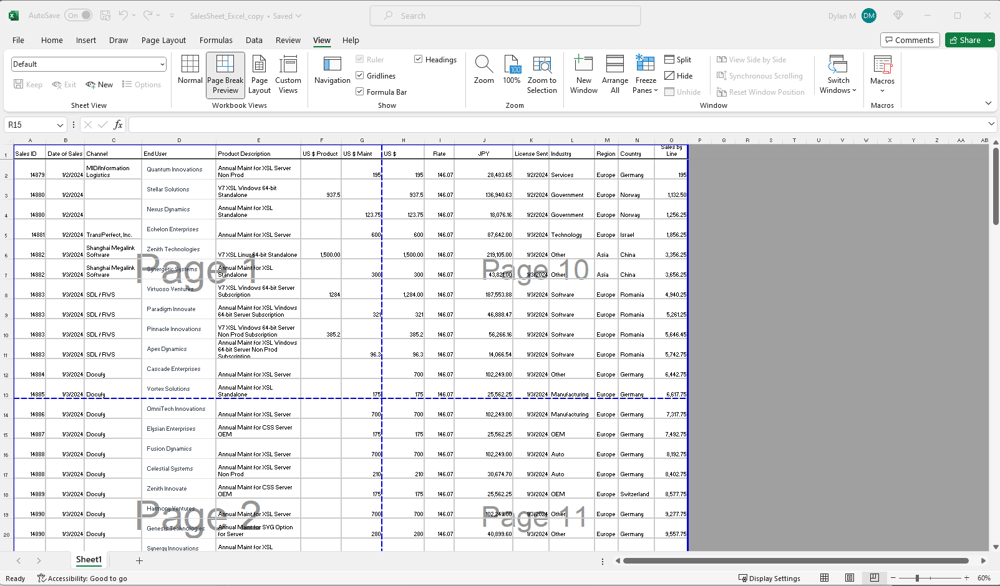
-You can switch to Page Break Preview under the "View" tab.
Adjust the paper size and orientation to optimize the layout for printing, considering options such as switching to landscape mode.
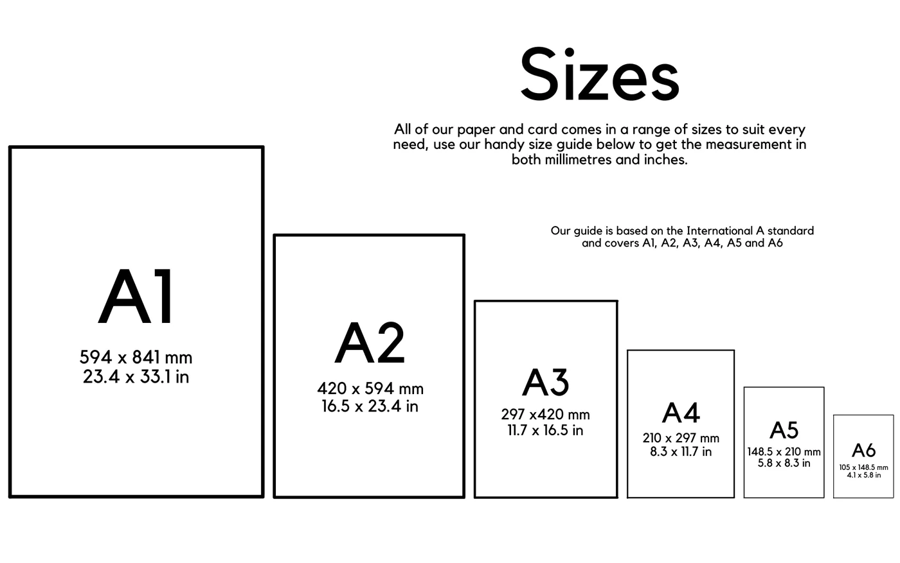
-A1, A2, and A3 may not be available in in Microsoft Excel, but they are available as outputs for OSDC using the "-xlspaper" parameter.
Options for Page size, orientation, and scaling can be specified in your OSDC converted outputs without using Excel. Manual changes to your XLS or XLSX files using Excel will be reflected in OSDC's outputs.
Example: -xlspaper A2,graph:landscape,100%
Excel offers options to scale your sheet to fit on a certain number of pages. You can access this feature under the "Page Layout" tab > "Scale to Fit" > "Width" or "Height". Experiment with different scaling percentages to see what works best for your sheet.

Narrowing the margins can help fit more content onto a single page. You can adjust margins under the "Page Layout" tab in Excel. Magin options can be set manually in Excel simply by clicking on the "Margins" icon under Page Layout.

Additionally, Margin options can be set programmatically with OSDC:
Adjusting the Width and Height in your sheet is a necessary step to ensure that data is visible. If a cell is too small the data will be cut off, Excel does not automatically adjust to fit your data. Highlighting an entire row or column and right-clicking will allow you to adjust Column Width or Row Height. Or, with a more hands on approach, users can simply click and drag to adjust height and widths.
Row Hight and Column Width can also be set conditionally to fit within a set number of pages under the Page Layout tab.

OSDC also has a parameter for adjusting the Row Height and Column Width programmatically.
The "-xlsrowcolcontrol" parameter specifies the value to adjust the line height and column width by the % value. Comma-delimited numbers with % can be specified in order of the line height and the column width.
Example : line height 105.5% column width 95%
-xlsrowcolcontrol "105.5%,95%"
Gridlines are hidden by default, although hiding gridlines can make your sheet look cleaner when printed, they may help large sheets of figures more legible. You can hide or unhide gridlines under the "View" tab by unchecking the "Gridlines" View & Print options. For lines data sheets with many figures, gridlines might be easier to read. Try with and without to check which is suitable. Additionally, checking print Heading will output Row numbers and Column letters.

OSDC currently does not have a parameter to specify these settings. Excels default output is to not print gridlines, so if you would like your OSDC outputs to show Gridlines this option should be checked and saved for the Excel file.

If your sheet spans multiple pages horizontally or vertically, you might want to specify rows or columns as print titles. This ensures that these rows or columns are repeated on each printed page, providing context for the data. You can set print titles under the "Page Layout" tab > "Print Titles".
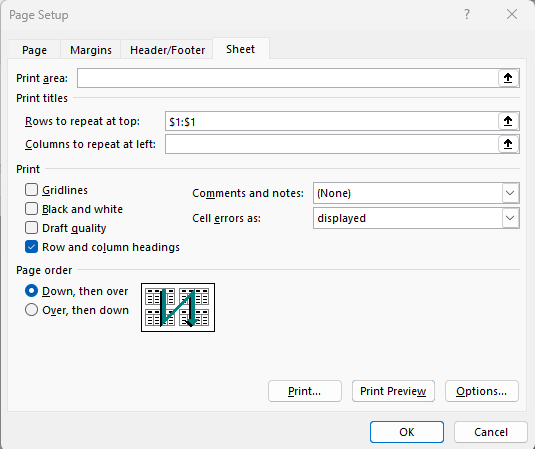
Some rows, such as the first row, can be set to repeat in your output with the Print Titles option.
OSDC does not currently support changing these settings programmatically, so if you would like your titles repeated on each output page, this option should be set in Excel.

Adding headers and footers can provide additional context or information when printing your sheet. You can customize headers and footers under the "Page Layout" tab > "Headers & Footers".

Custom headers and footers added to your pages in Excel will be output by OSDC, but images inserted into the header or footer will be disregarded. Currently, OSDC does not have a parameter to insert headers or footers into Excel files, so if you would like your output to include headers and footers, this must be set in Excel.
Awards


Proud Member

